This guide provides step-by-step instructions for installing and configuring IBM MQ Explorer on macOS using the Eclipse IDE.
1. Install Eclipse IDE
You have two options for installing the Eclipse IDE:
Using
brew(Recommended):Open your terminal and run the following command:
brew install --cask eclipse-ideFrom the official Eclipse site:
Download the installer directly from the Eclipse website: https://www.eclipse.org/downloads/packages/release/2025-06/r/eclipse-ide-eclipse-committers
2. Install IBM MQ Explorer in Eclipse IDE
Launch Eclipse. From the main menu, navigate to Help > Eclipse Marketplace.
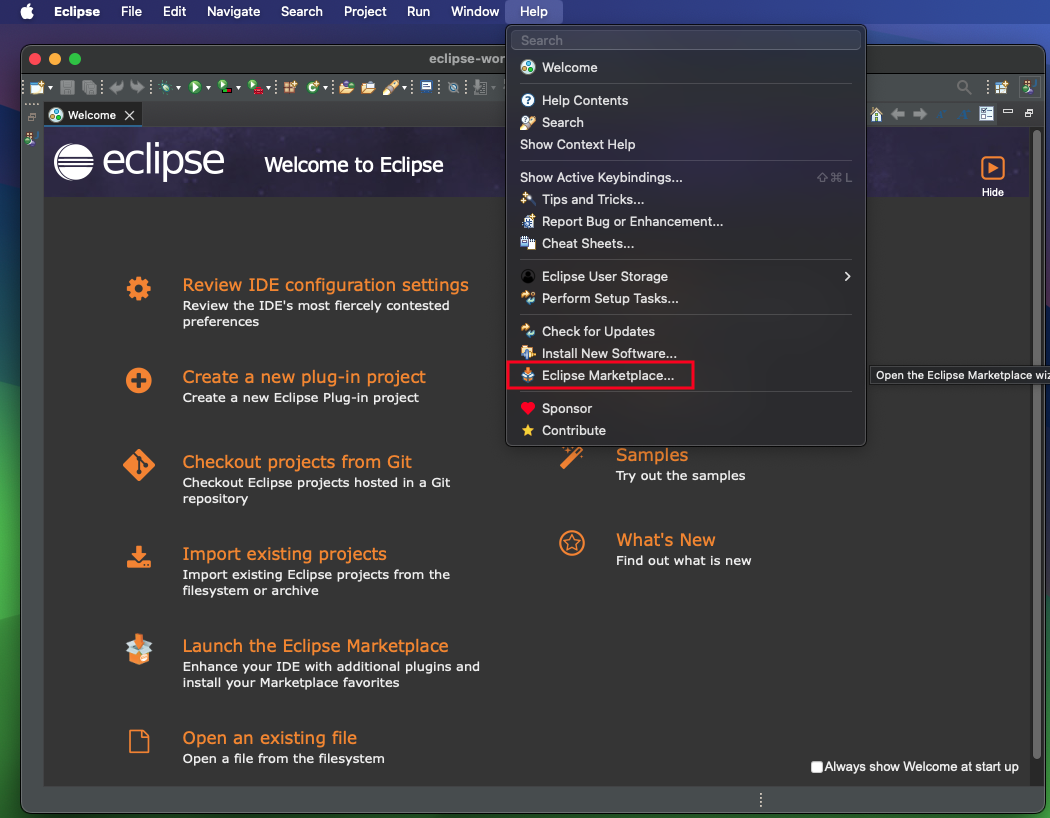
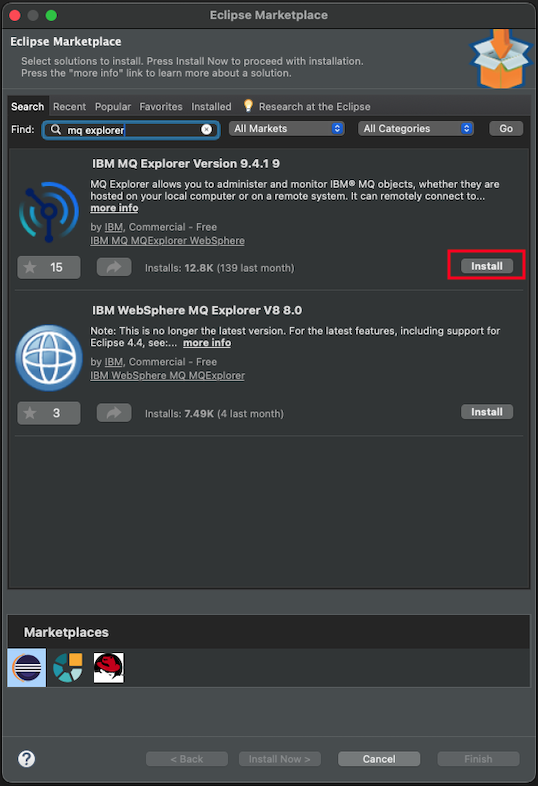
In the Eclipse Marketplace window, search for “mq explorer” and click Install for “IBM MQ Explorer Version 9.4.1 9” (or the highest version available).
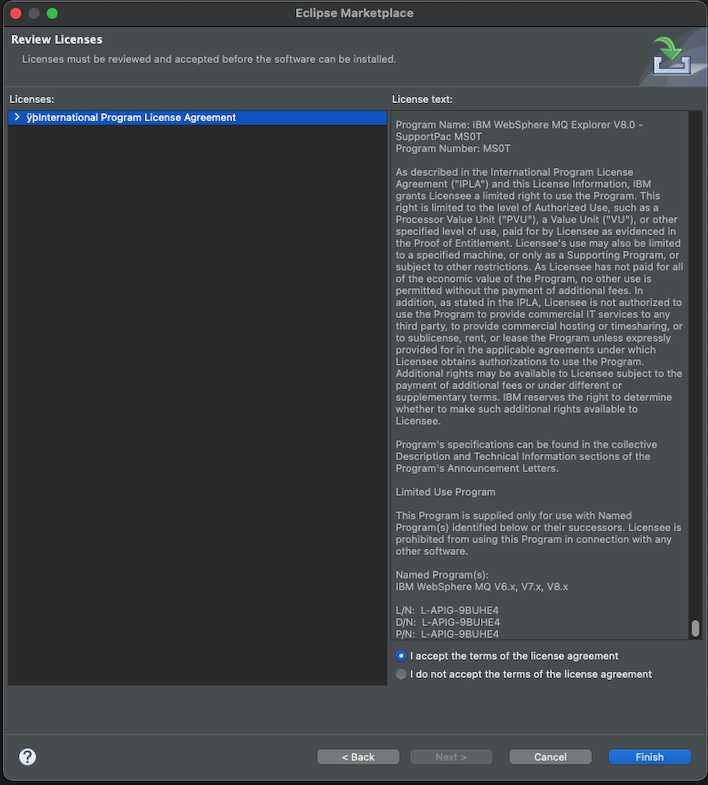
Accept the license agreement to proceed.
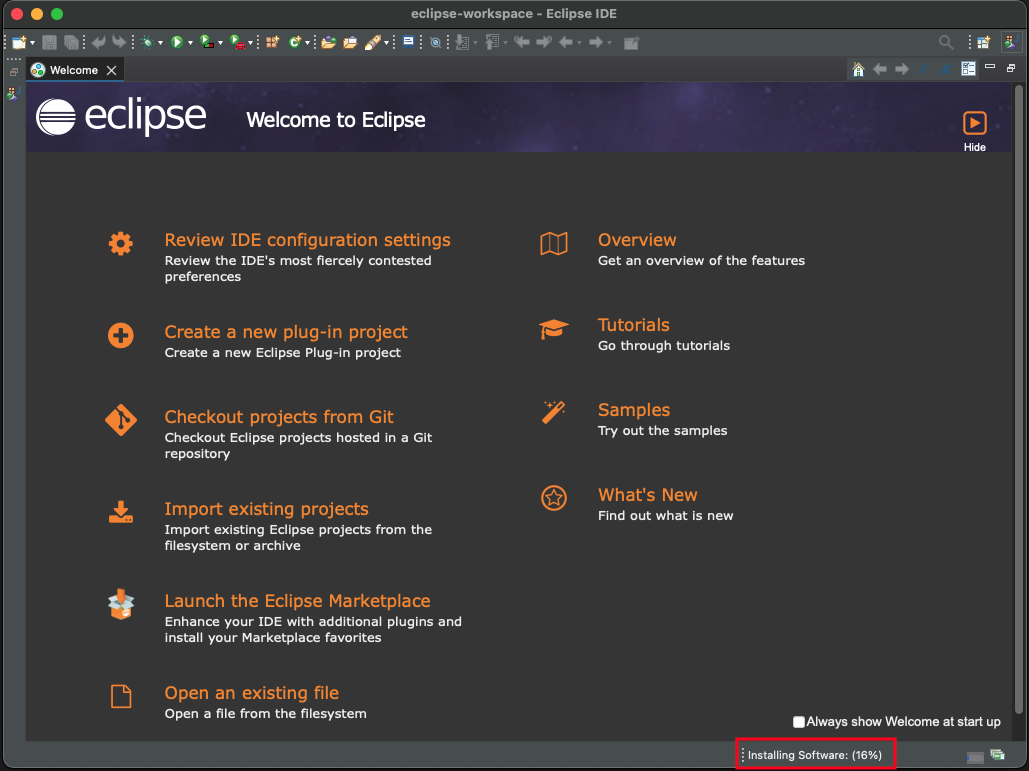
The installation progress will be displayed.
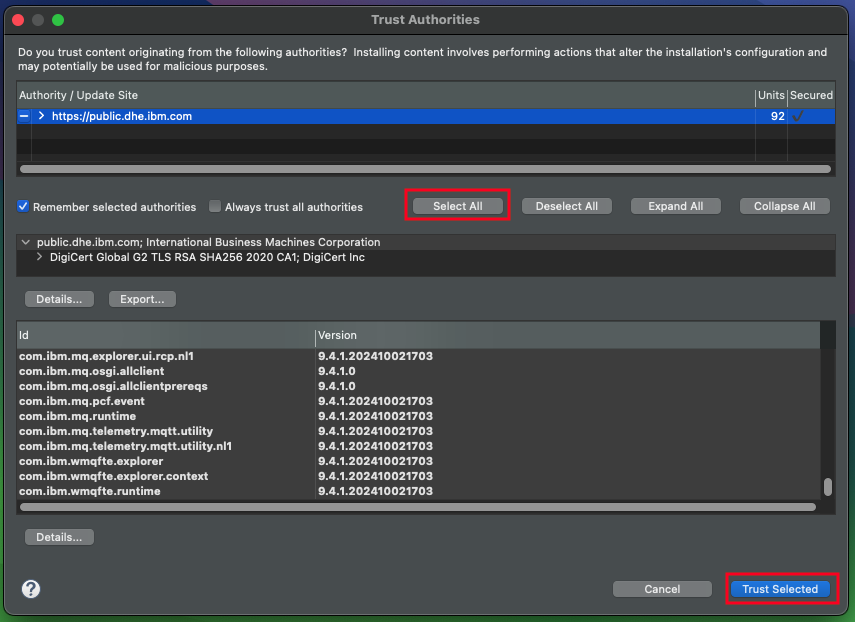
A window will appear asking you to trust the content authorities. Click Select All and then Trust Selected.
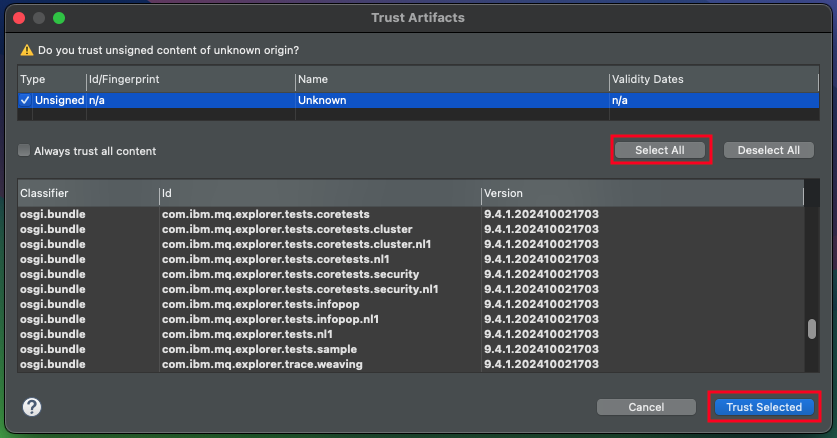
A second window for trusting artifacts will appear. Repeat the previous step by clicking Select All and then Trust Selected.
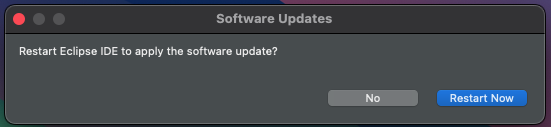
Once the installation is complete, you will be prompted to restart the Eclipse IDE. Click Restart Now.
3. Open the IBM MQ Explorer Perspective
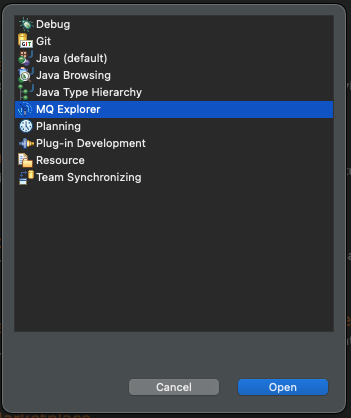
From the main menu, go to Window > Perspective > Open Perspective > Other….
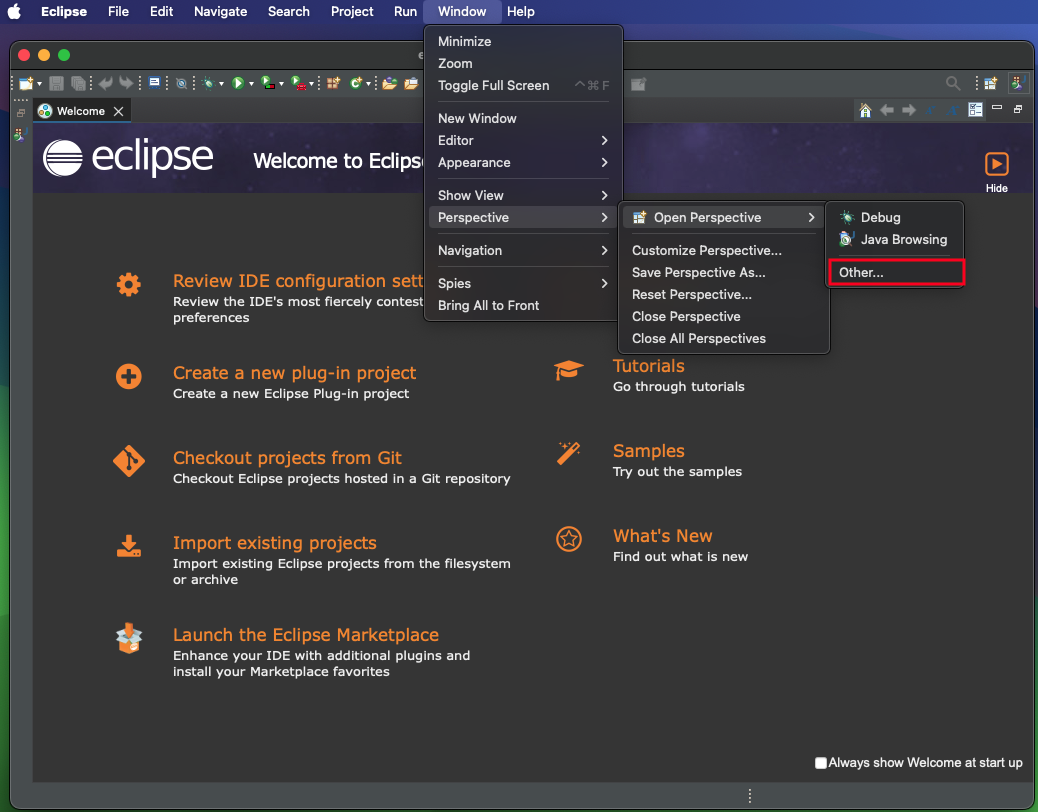
Select MQ Explorer from the list and click Open.
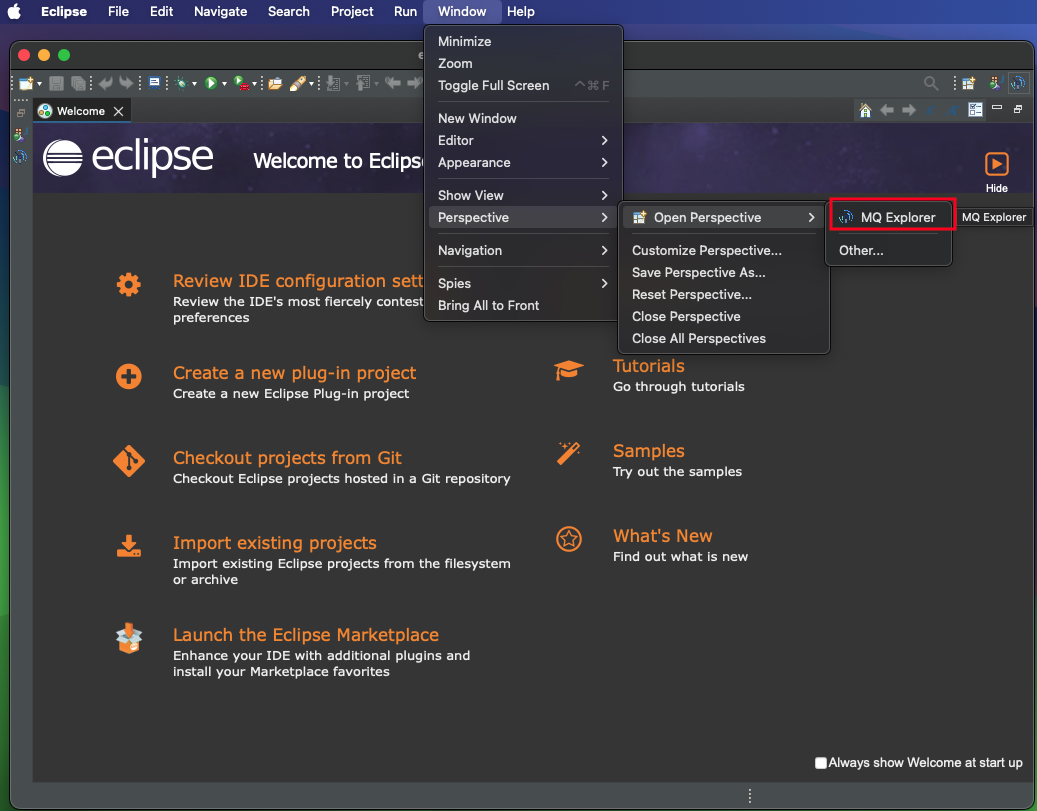
The MQ Explorer perspective is now active. You can access it directly from Window > Perspective > Open Perspective > MQ Explorer.
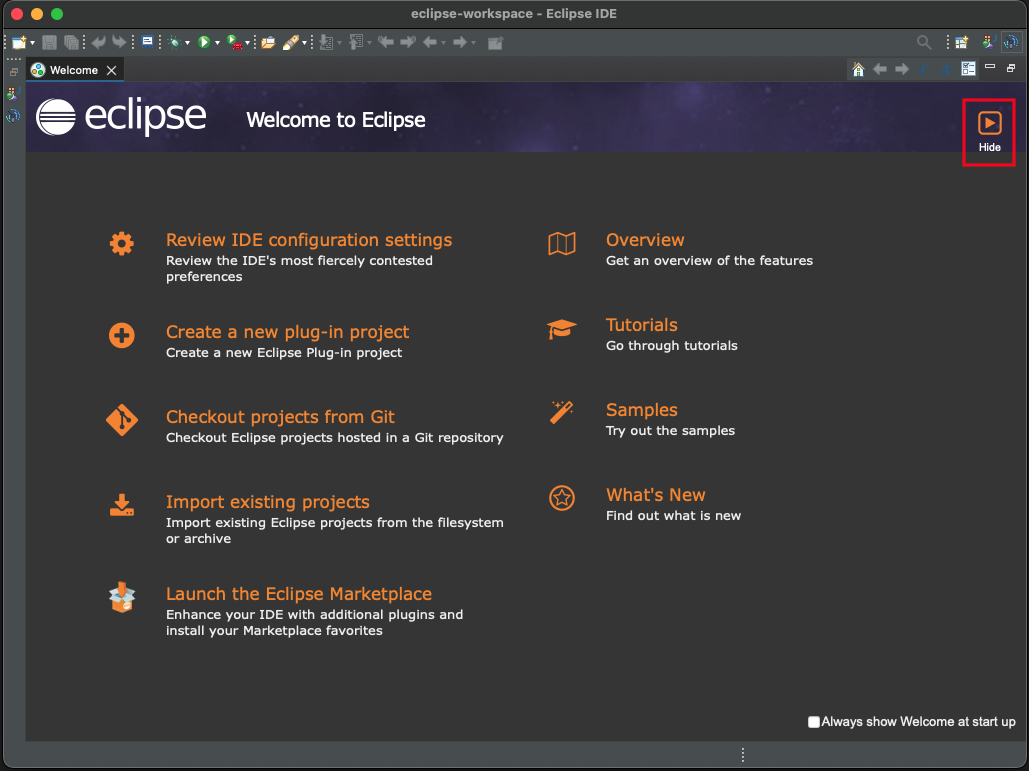
Click the Hide icon on the Welcome screen to close it.
You are now in the IBM MQ Explorer environment. ✅
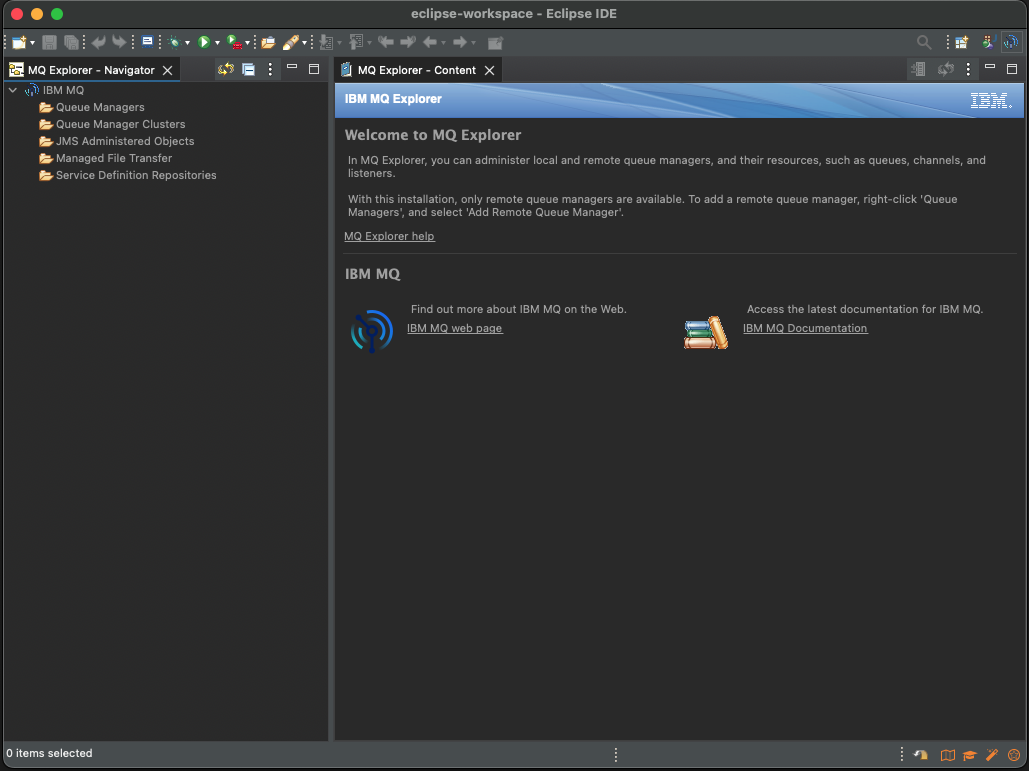
4. Import MQ Queues (from XML)
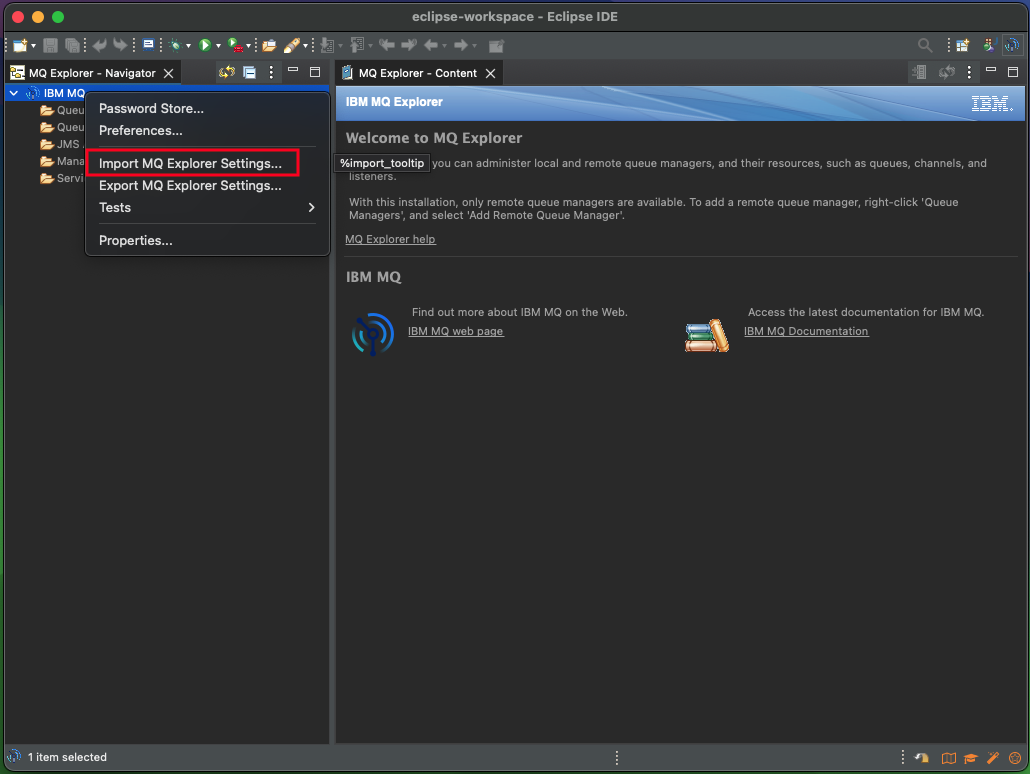
In the MQ Explorer Navigator, right-click on IBM MQ and select Import MQ Explorer Settings….
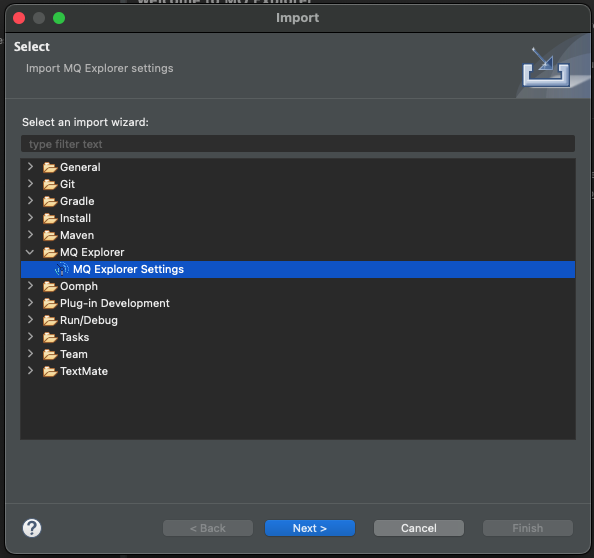
Select MQ Explorer Settings and click Next.
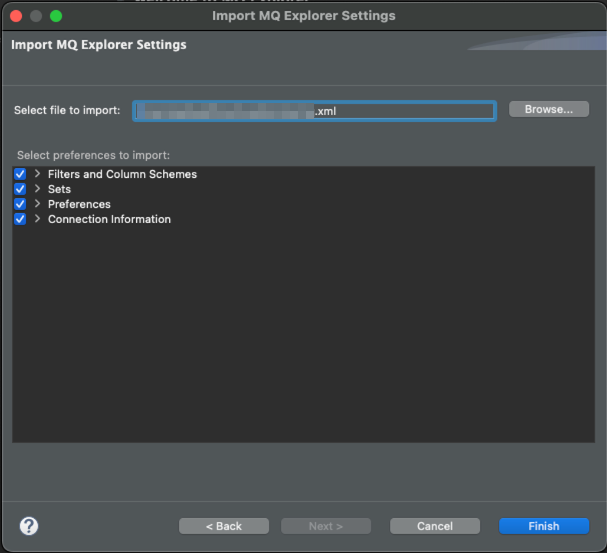
Browse to and select the XML file containing your MQ queue configurations.
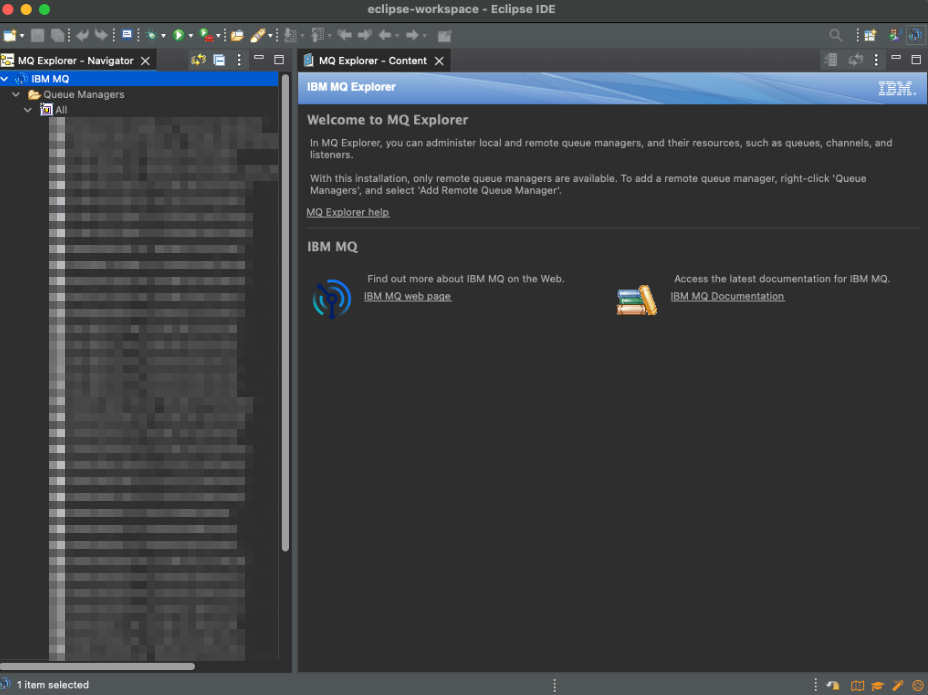
A list of Gateways for accessing the MQ queues will be displayed.
Conclusion
You now have IBM MQ Explorer fully configured on your macOS system. This powerful tool allows you to manage IBM MQ queue managers, queues, and messages through an intuitive graphical interface. Whether you’re developing applications that interact with IBM MQ or managing existing queue infrastructure, MQ Explorer provides the visibility and control you need.
Tip: Eclipse will automatically reopen the MQ Explorer perspective on startup if it was the last one you used.